Textmagic help center
Get the help you need with our comprehensive business texting support center
What’s new at Textmagic?
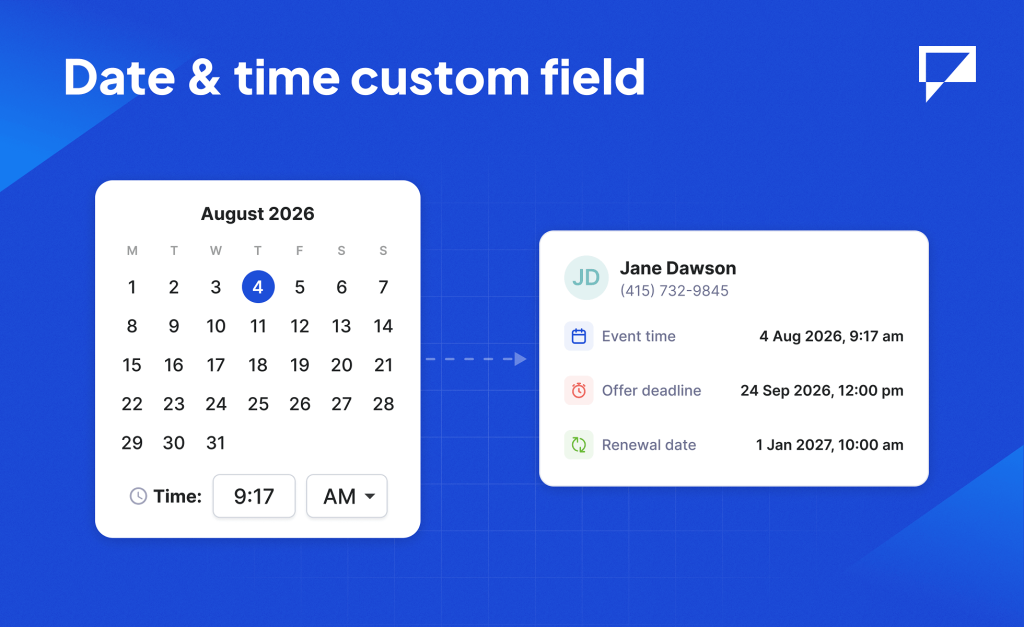
Add or import dates and times for each contact, like renewals or appointments. Automations will soon be able to handle the rest, sending each person the right message at exactly their time.
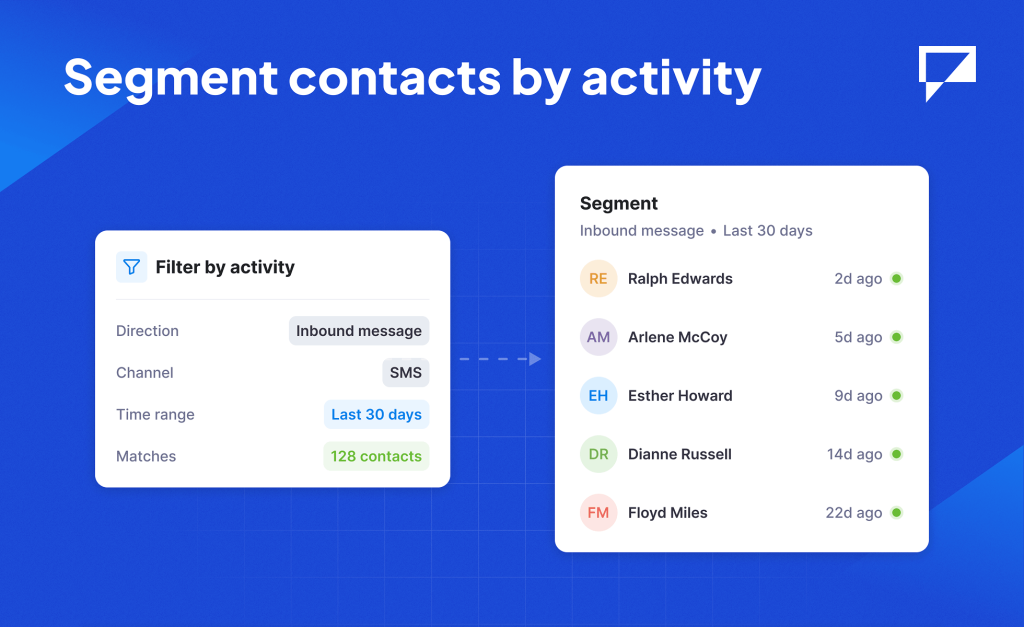
Segment contacts by their most recent inbound or outbound SMS. Spot who has gone quiet, re-engage inactive contacts, and keep your contact lists fresh and active.
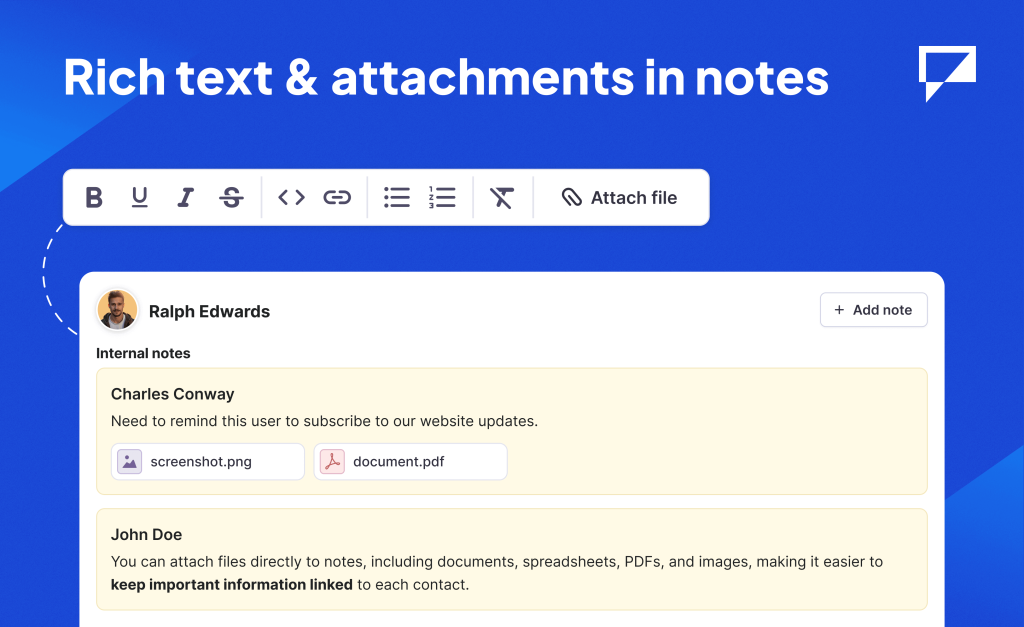
You can now attach documents, spreadsheets, PDFs, and images directly to internal notes, keeping important files linked to the right contact. Rich text formatting and hyperlinks help structure updates, highlight key details, and reference external resources.
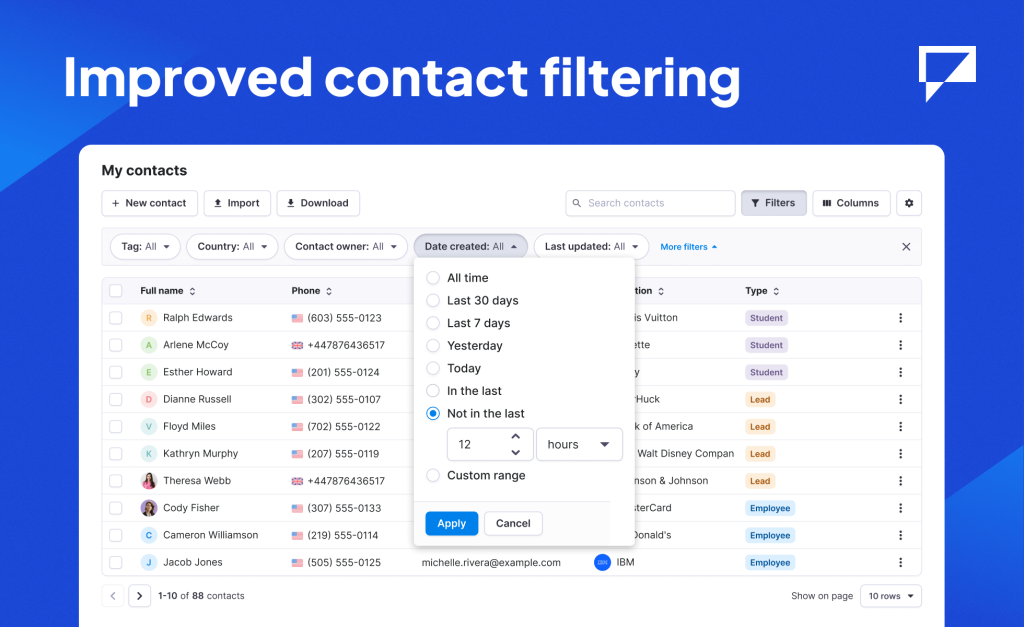
Contact filtering options have been improved. A new “Not in the last” operator is now available for date fields, with flexible time ranges in minutes, hours, days, or months (for example, “Not in the last 12 hours” or “Not in the last 1 month”).
You can now also filter contacts by the date of their last inbound SMS or last outbound SMS. In addition, a new Unlisted contacts filter helps you quickly find contacts who are not part of any list.
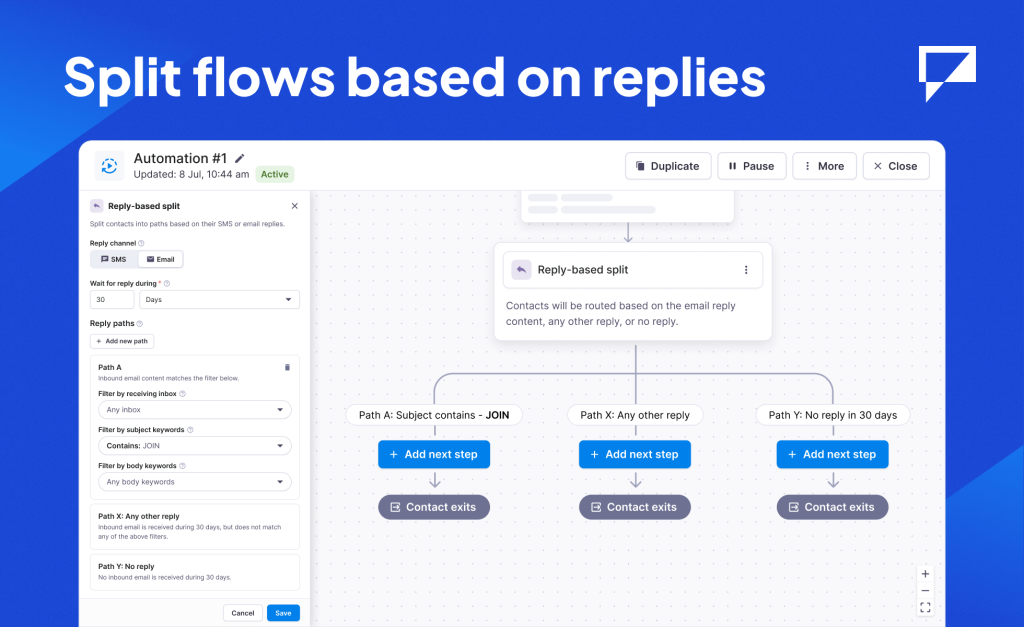
You can now split contacts into different paths based on their SMS or email replies in automations. Set the reply channel, choose how long to wait for a response, and create conditions using keywords or other filters. Contacts can be routed to matched replies, other responses, or no reply within the selected time period. The split is applied during the automation and helps you build cleaner, more flexible follow-up flows without manual sorting.
You can now control link tracking for email campaigns in the settings. Link tracking is enabled by default and can be turned off at any time. When enabled, links are replaced with tracking links to measure clicks and view engagement, without changing the destination. When disabled, links are sent as entered and clicks are not tracked. The setting is applied at send time and affects all links in the campaign.
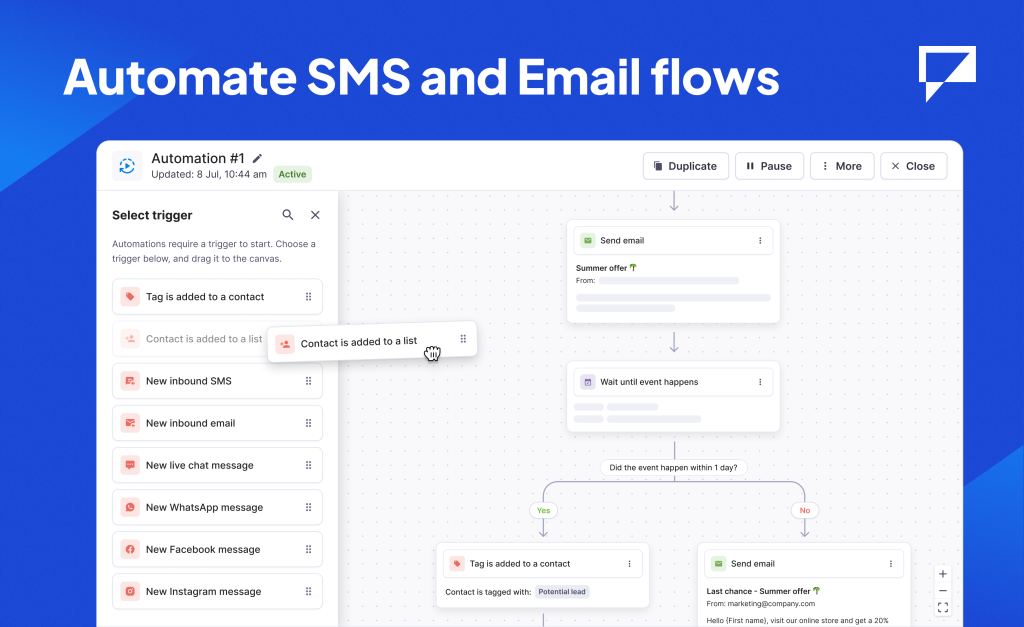
You can now create automation flows in Textmagic to send SMS and email sequences based on rules. Set triggers using tags, lists, or replies, add delays between steps, and send messages automatically once the flow is active.
Automation flows support both SMS and email in the same sequence. You can track progress and basic analytics to see how contacts move through each flow. This works well for onboarding, follow-ups, reminders, and drip campaigns.
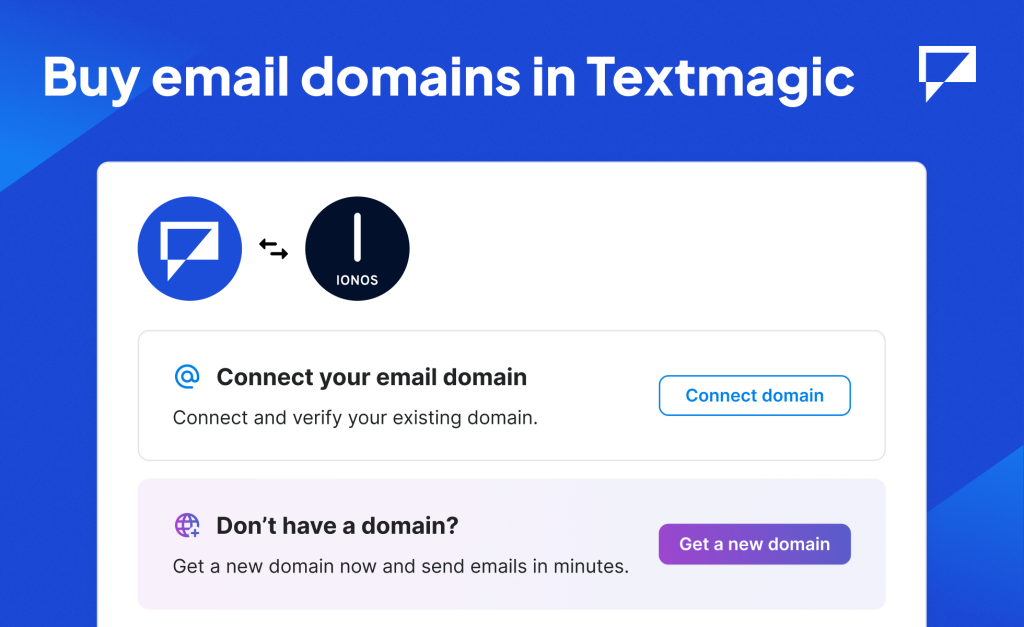
You can now buy a custom domain for email sending without leaving Textmagic. Complete the checkout through IONOS in a few clicks and activate it in your Textmagic account. Your domain will be verified and configured for sending branded emails in no time. This removes one of the biggest friction points in getting started with professional email campaigns.
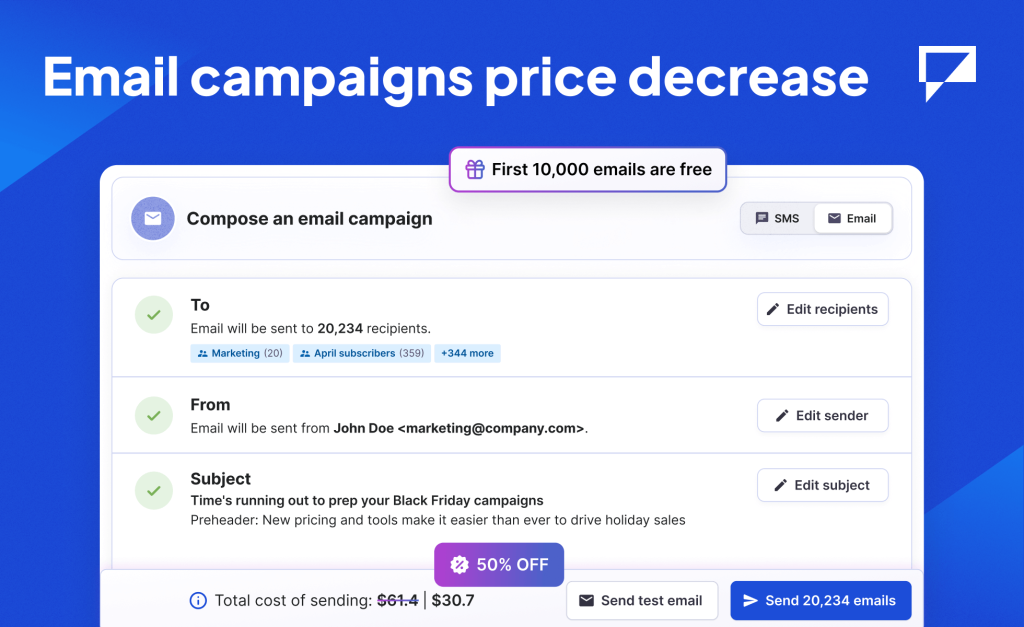
We’ve updated email campaign pricing, reducing costs by 50%. This means you can send twice as many emails for the same budget, giving you more flexibility to scale your campaigns. We’ve also rolled out several other improvements to Email Campaigns, including better deliverability tools, enhanced analytics, and a smoother sending experience.
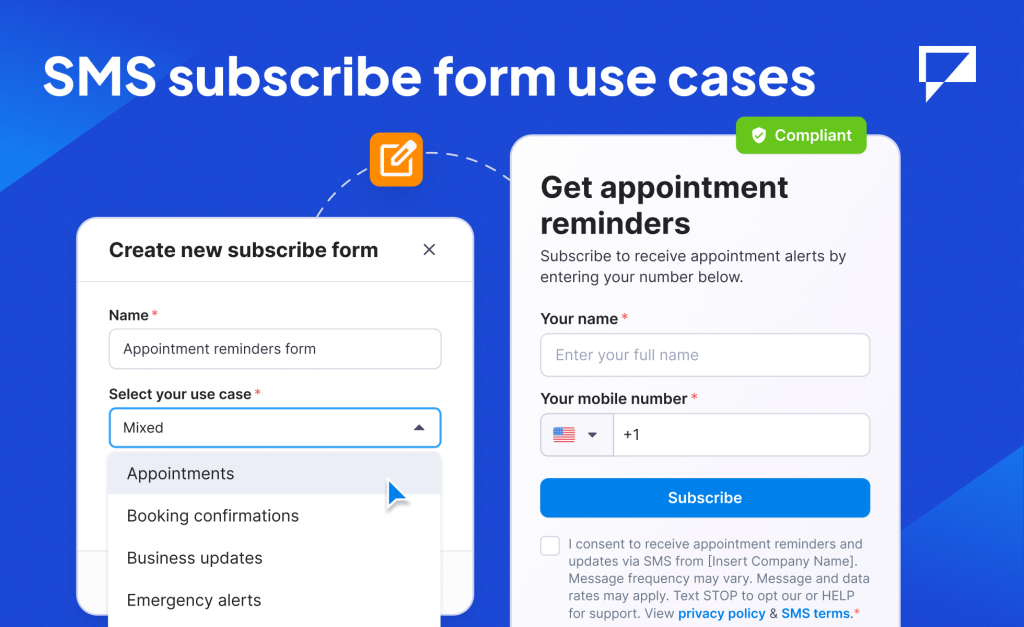
Subscribe forms now start by asking for your use case, then automatically generate the right compliance language for you. Select from use cases like appointment reminders, promotional offers, or business updates, and Textmagic builds a compliant form with the correct consent text and disclosures. We’ve also added logo requirement alerts for US, Canada, and Puerto Rico users, improved typography, and expanded character limits for headers and descriptions to give you more room to explain what subscribers are signing up for.