
Contacts: add, import, and sync
Textmagic gives you several ways to add, organize, sync, and personalize your contacts. You can create contacts manually, import them in bulk, sync them from supported integrations, organize them into lists or dynamic segments, and use custom fields to store additional contact information.
You can add an unlimited number of contacts for free.
- All contacts must have explicitly opted in to receive texts or emails from your company.
- Purchased or third-party contact lists are not allowed for SMS or email campaigns.
- Each contact must have a unique phone number.
- Duplicate phone numbers are excluded during manual Excel or CSV imports.
- Native integrations update existing contacts with the latest mapped data.
Contact fields
Textmagic includes standard contact fields such as First name, Last name, Company name, Phone, and Email. You can also create custom fields to store additional information, such as location, job title, or customer ID.
When composing a message, you can use contact and custom fields as Dynamic fields to personalize your messages. You can also use custom fields to create segments and automations.
- Custom fields store specific information about a contact and can be used to personalize messages and build more advanced automations.
- Tags are labels used to group and segment contacts.
Create custom fields manually
If you’re adding contacts manually or importing contacts from an Excel or CSV file, create the custom fields you need before adding or importing your contacts.
- Go to Settings → Contacts → Custom fields → Click New custom field.
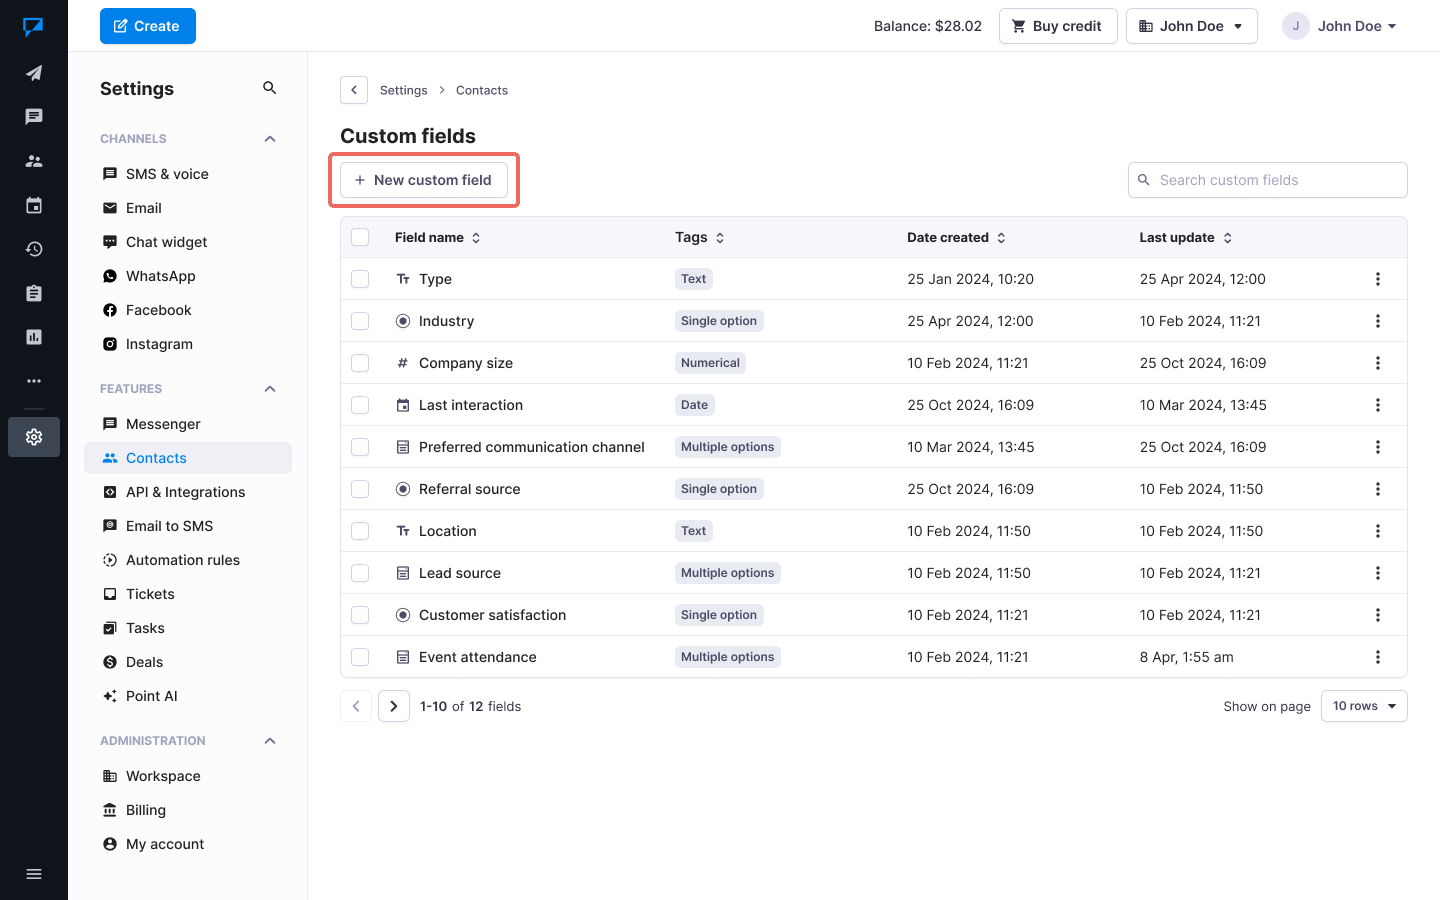
- Enter a field name → Click Create.
Create custom fields when syncing contacts
When syncing contacts with a supported native integration, you can map data to existing Textmagic fields or create new custom fields during setup.
Add contacts one by one
- Go to Contacts → Click New contact.
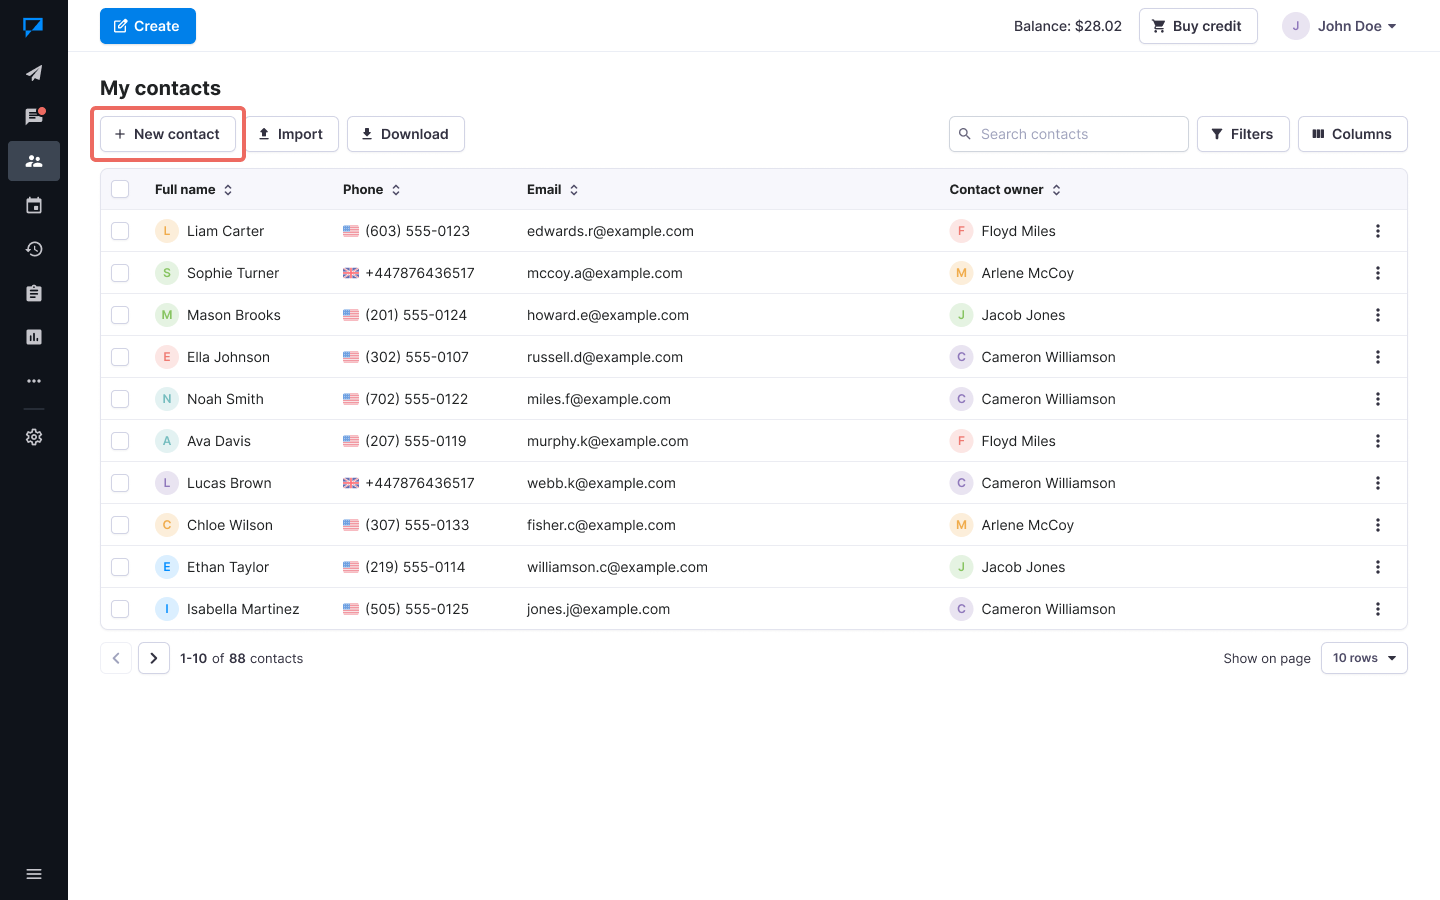
- Enter the contact details → Select the lists you want to add the contact to → Click Save.
Import contacts
For larger contact databases, you can import contacts from an Excel or CSV file or paste phone numbers directly into Textmagic.
Before importing your contacts, make sure that phone numbers and email addresses are formatted correctly. If you want to import additional contact information, create the required custom fields before starting the import.
Phone number formatting
If all your contact numbers are from the same country, you can enter them in a local format without the country code:
- US number – (904) 654-1669
- UK number – 07937 946700
- AU number – 0448 793 610
If your contact list contains numbers from several countries, use international format with the country code:
- US number – 19046541669
- UK number – 447937946700
- AU number – 61448793610
Email address formatting
Make sure email addresses:
- Use a valid format, for example, [email protected].
- Contain only one “@” sign and a valid domain name.
- Do not contain spaces or invalid special characters.
Important: We recommend excluding role-based email addresses, such as [email protected], [email protected], [email protected], [email protected], and [email protected].
Import contacts from Excel or CSV
- Go to Contacts → Click Import → Choose your file → Click Upload file.
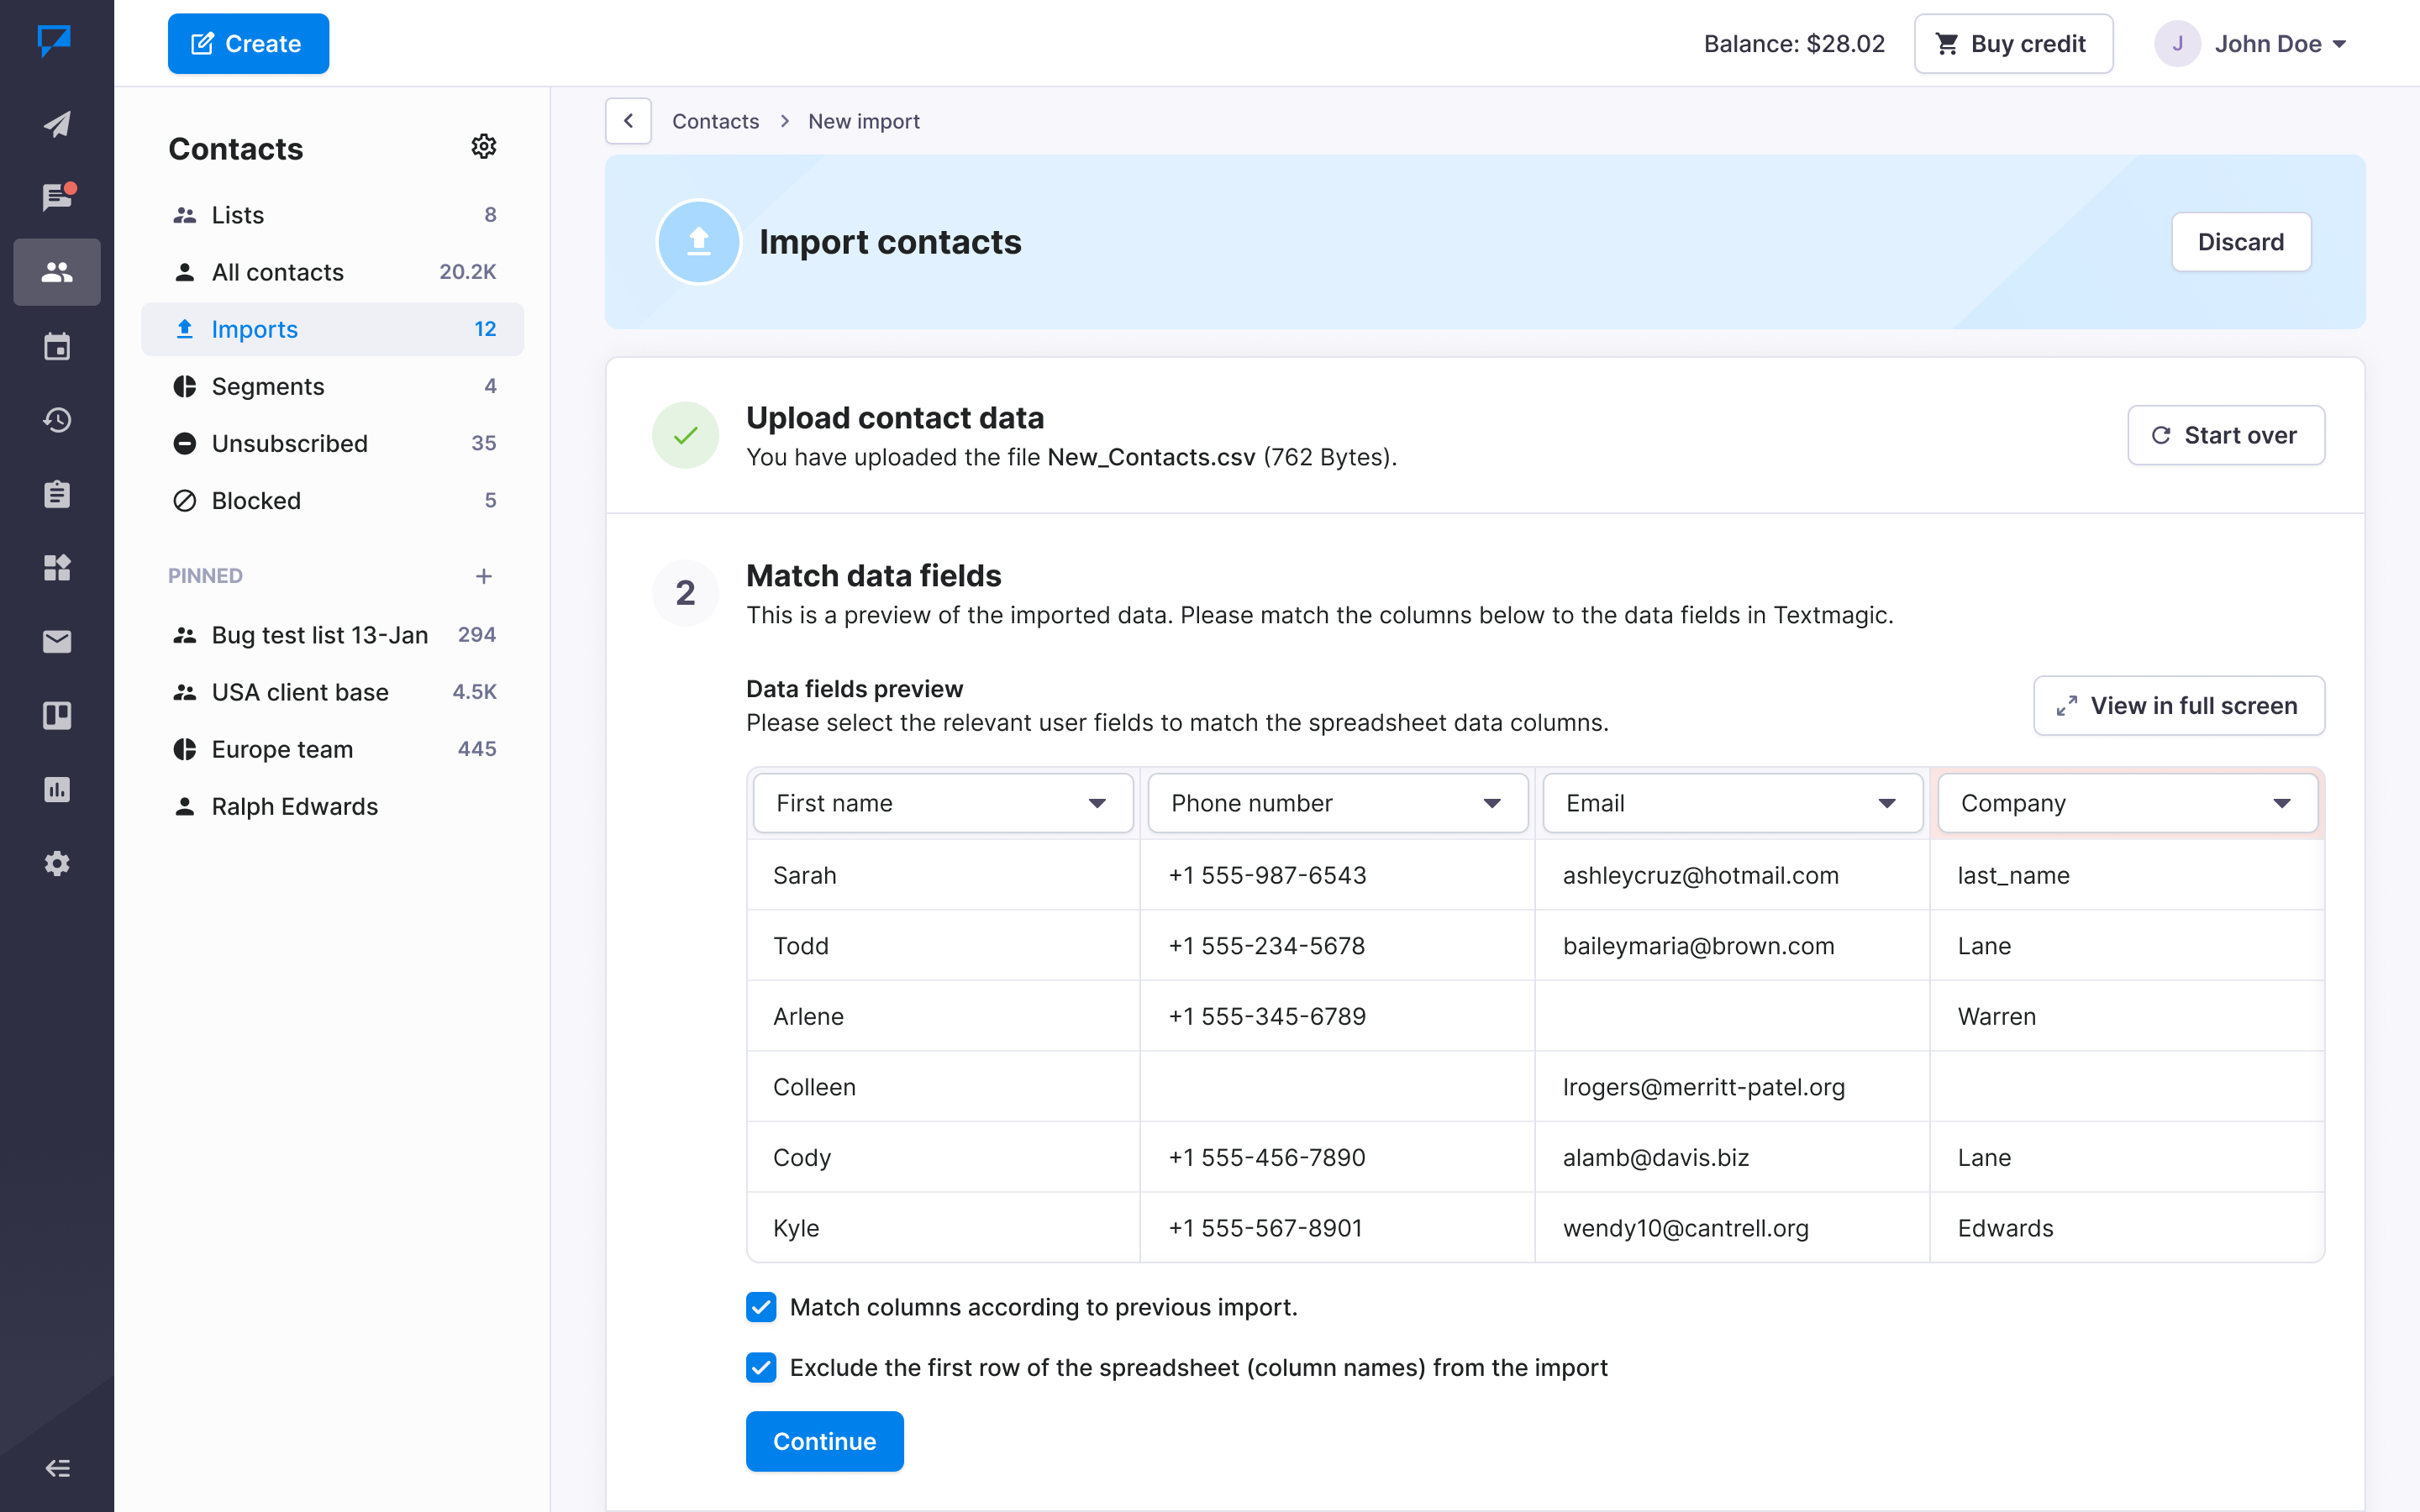
- Match the columns in your file with the corresponding Textmagic contact fields → Click Continue.
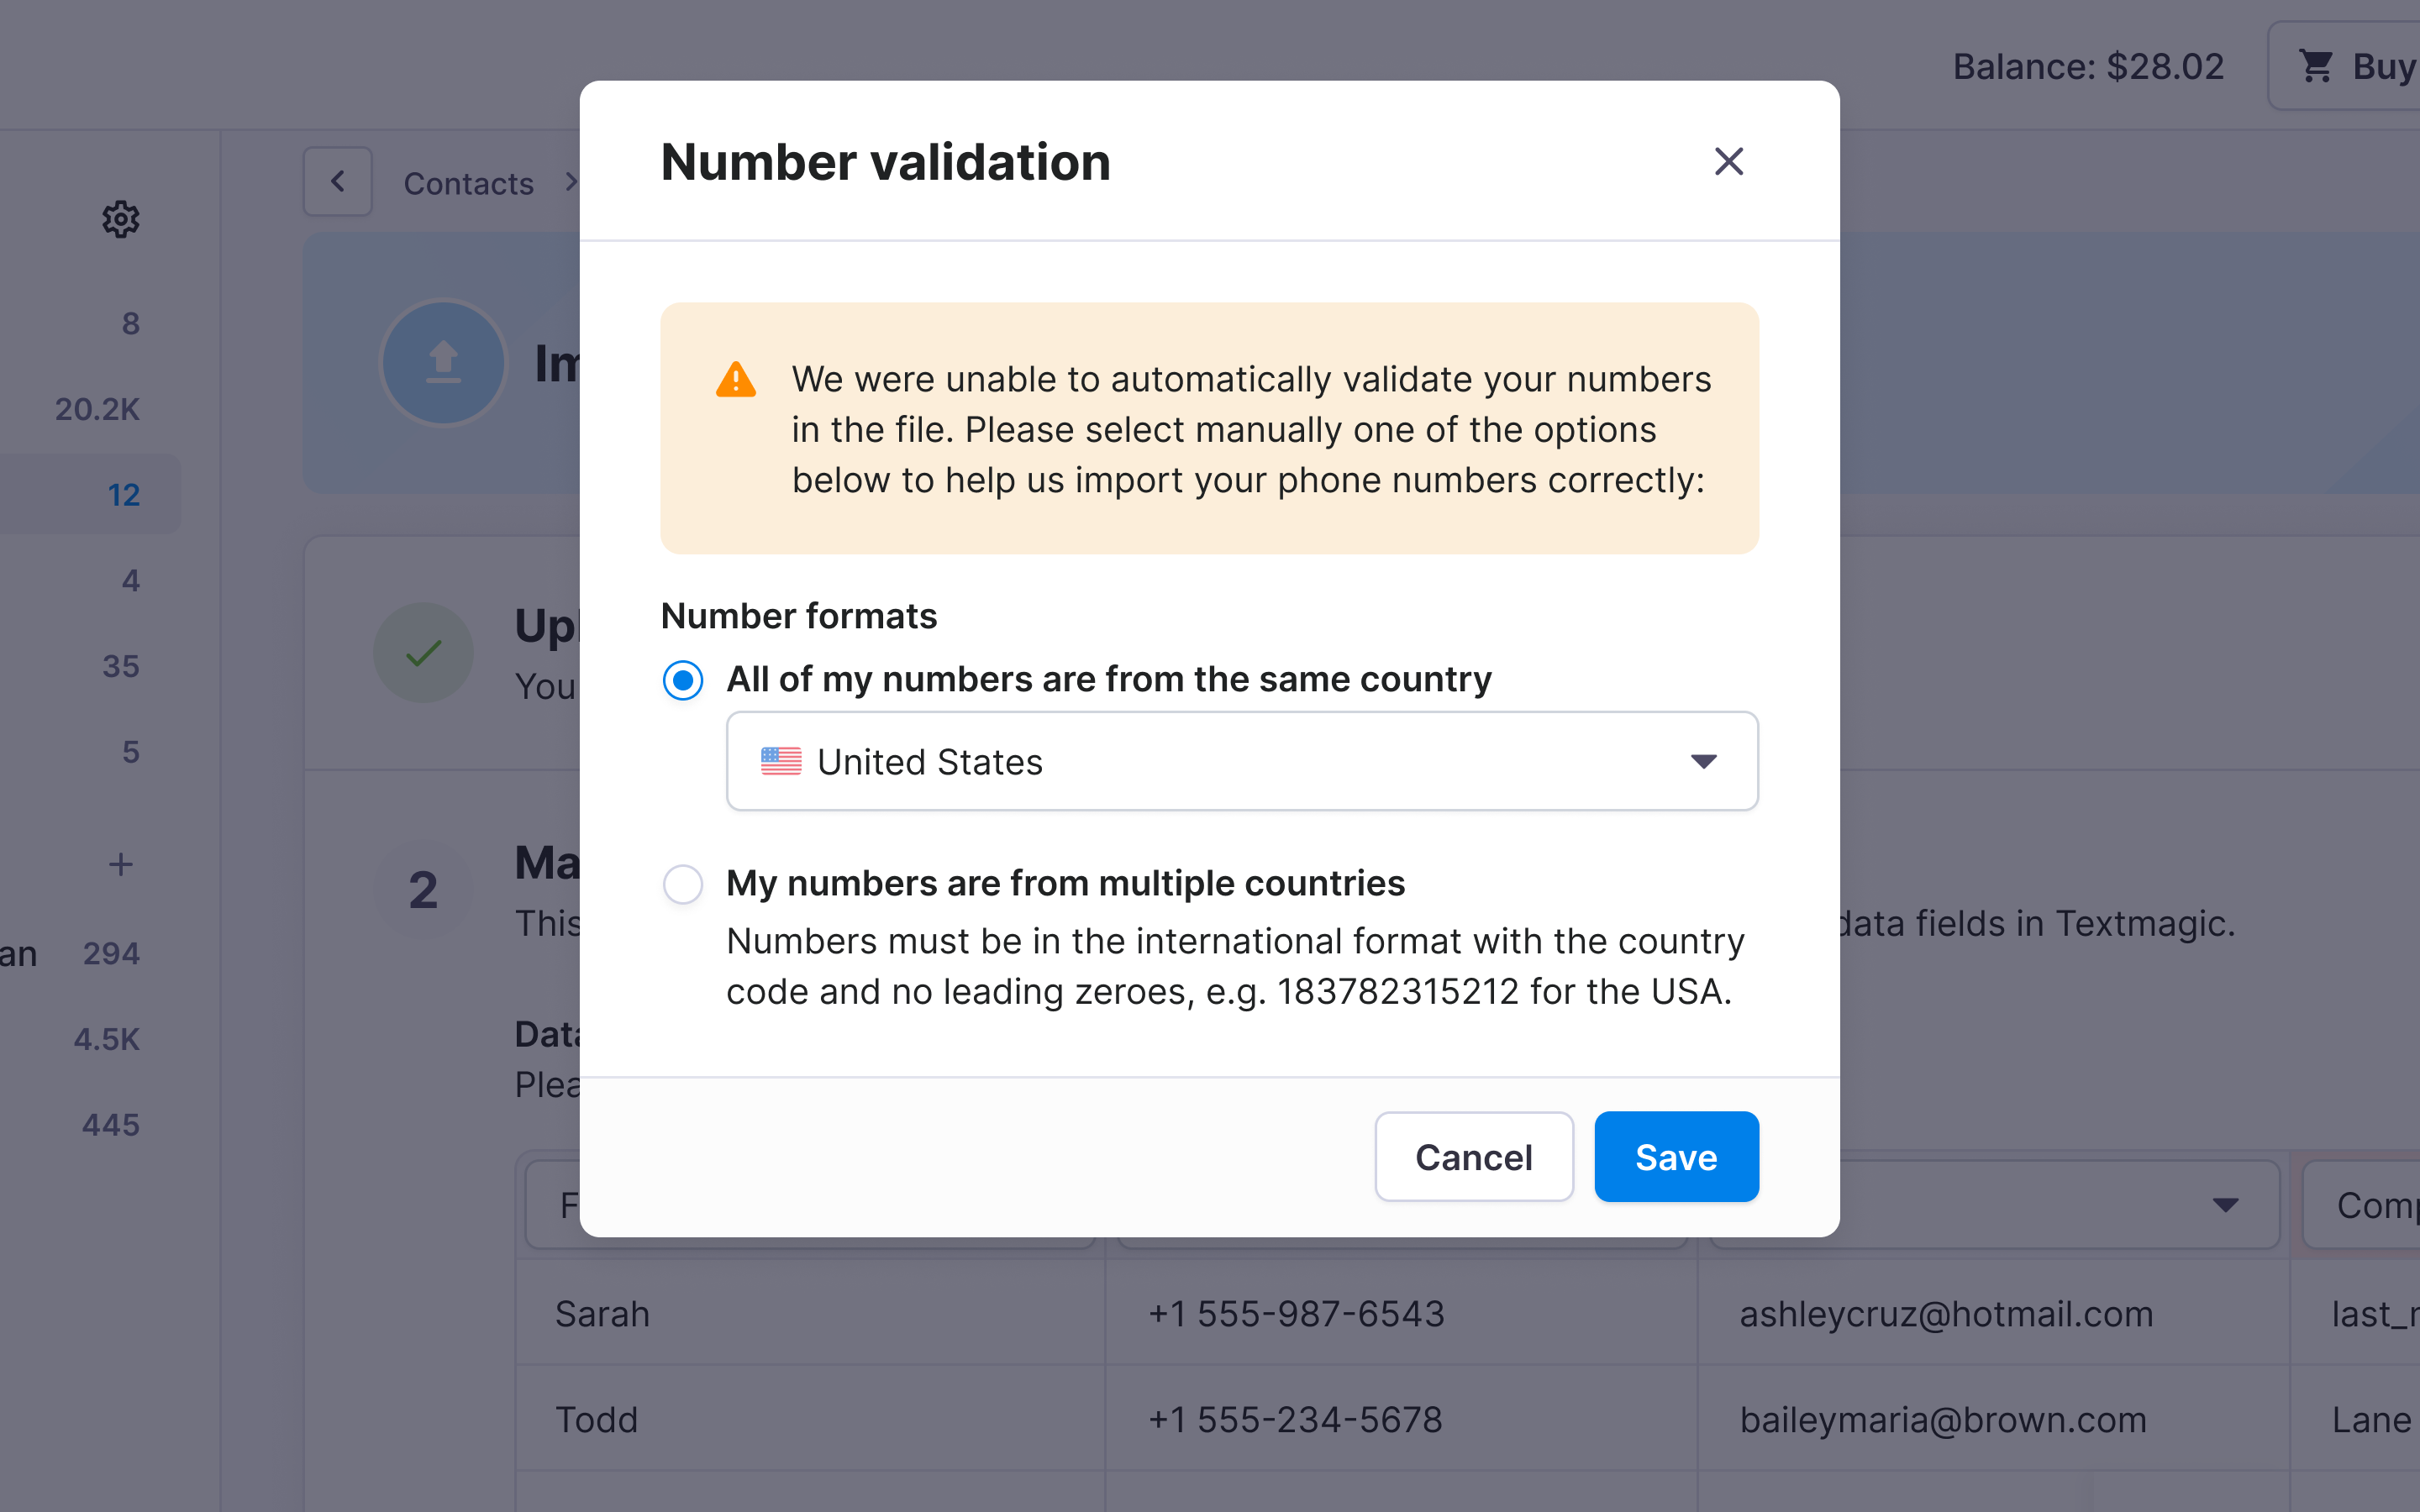
- If we cannot automatically validate your numbers, select the country manually. For contacts from different countries, make sure each number includes the appropriate country code.
- Select the list where you want to add the contacts → Click Continue.
- If your Excel file has a List column, you can match it during the import.
- If you add a tag during import, you can later use it to segment your contacts.
Once the import starts, you can monitor its progress on the same page. You will receive an email when the import is complete.
Paste phone numbers
- Go to Contacts → Click Import → Select Copy and paste phone numbers.
- Paste your numbers → Click Continue.
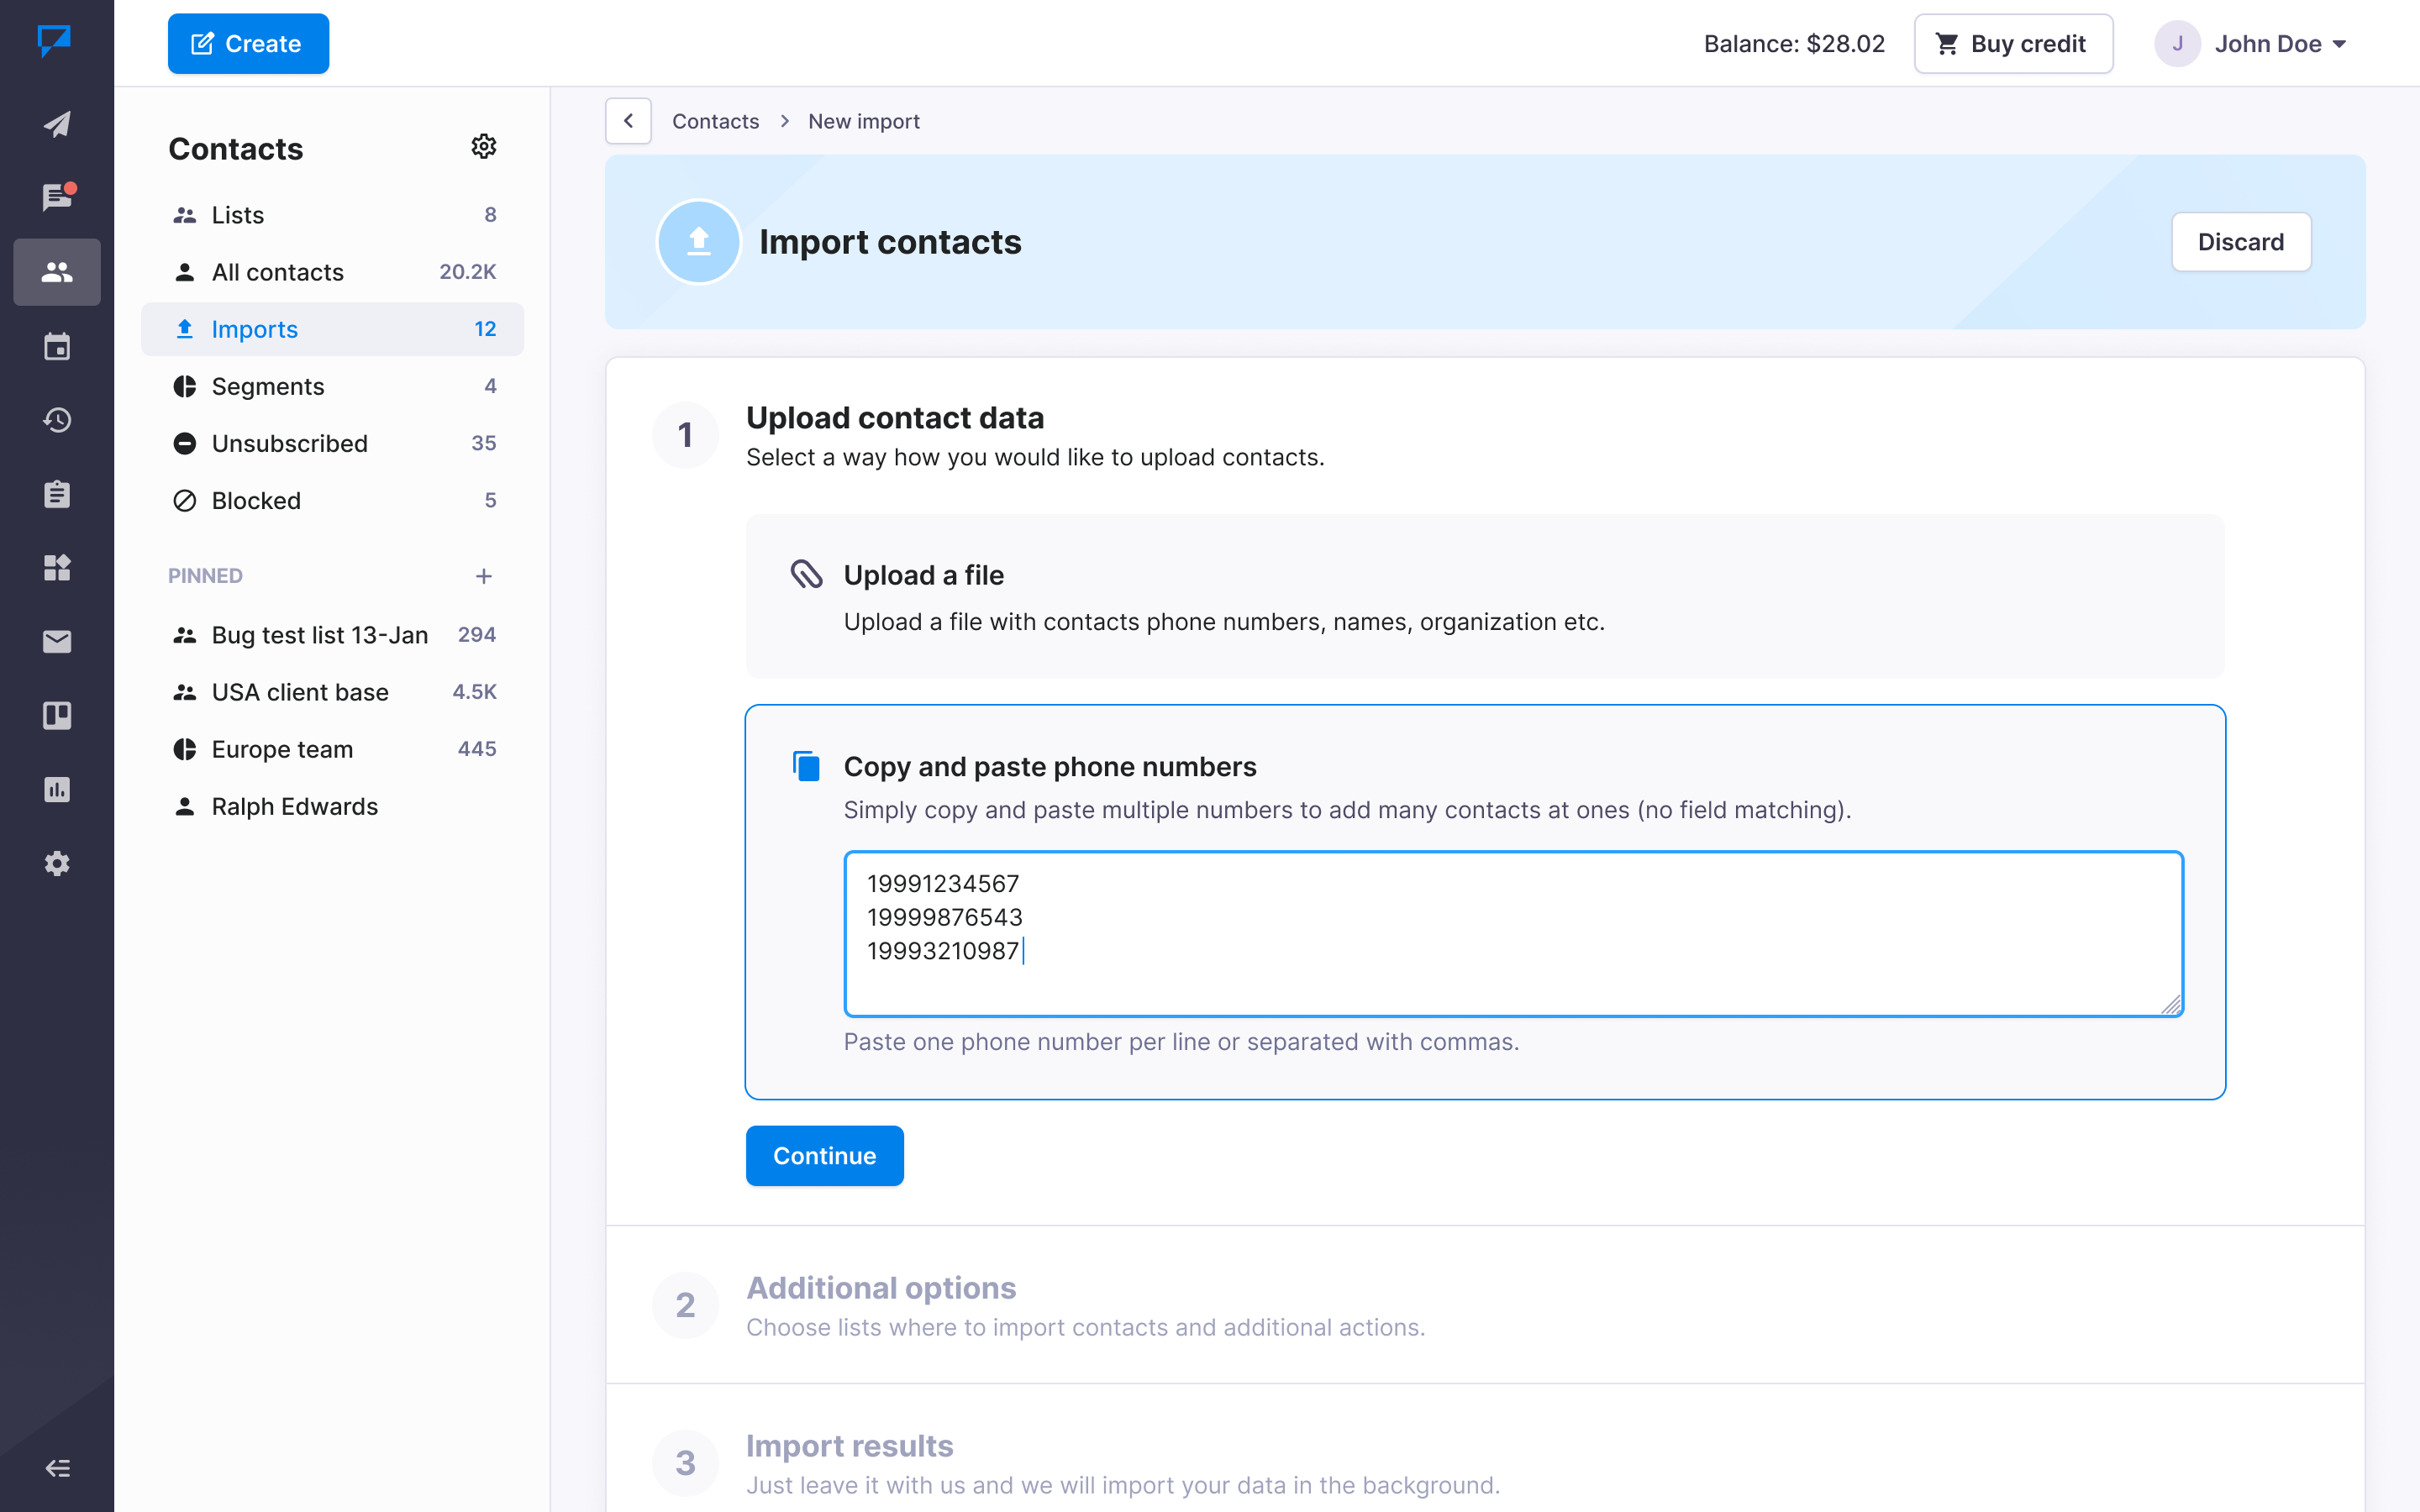
- If needed, select the country → Select the lists where you want to add the contacts.
Check and fix import results
- Go to Contacts → Imports → Open the import session.
- Review the Imported, Duplicates excluded, Failed to import, and Landlines excluded tabs.
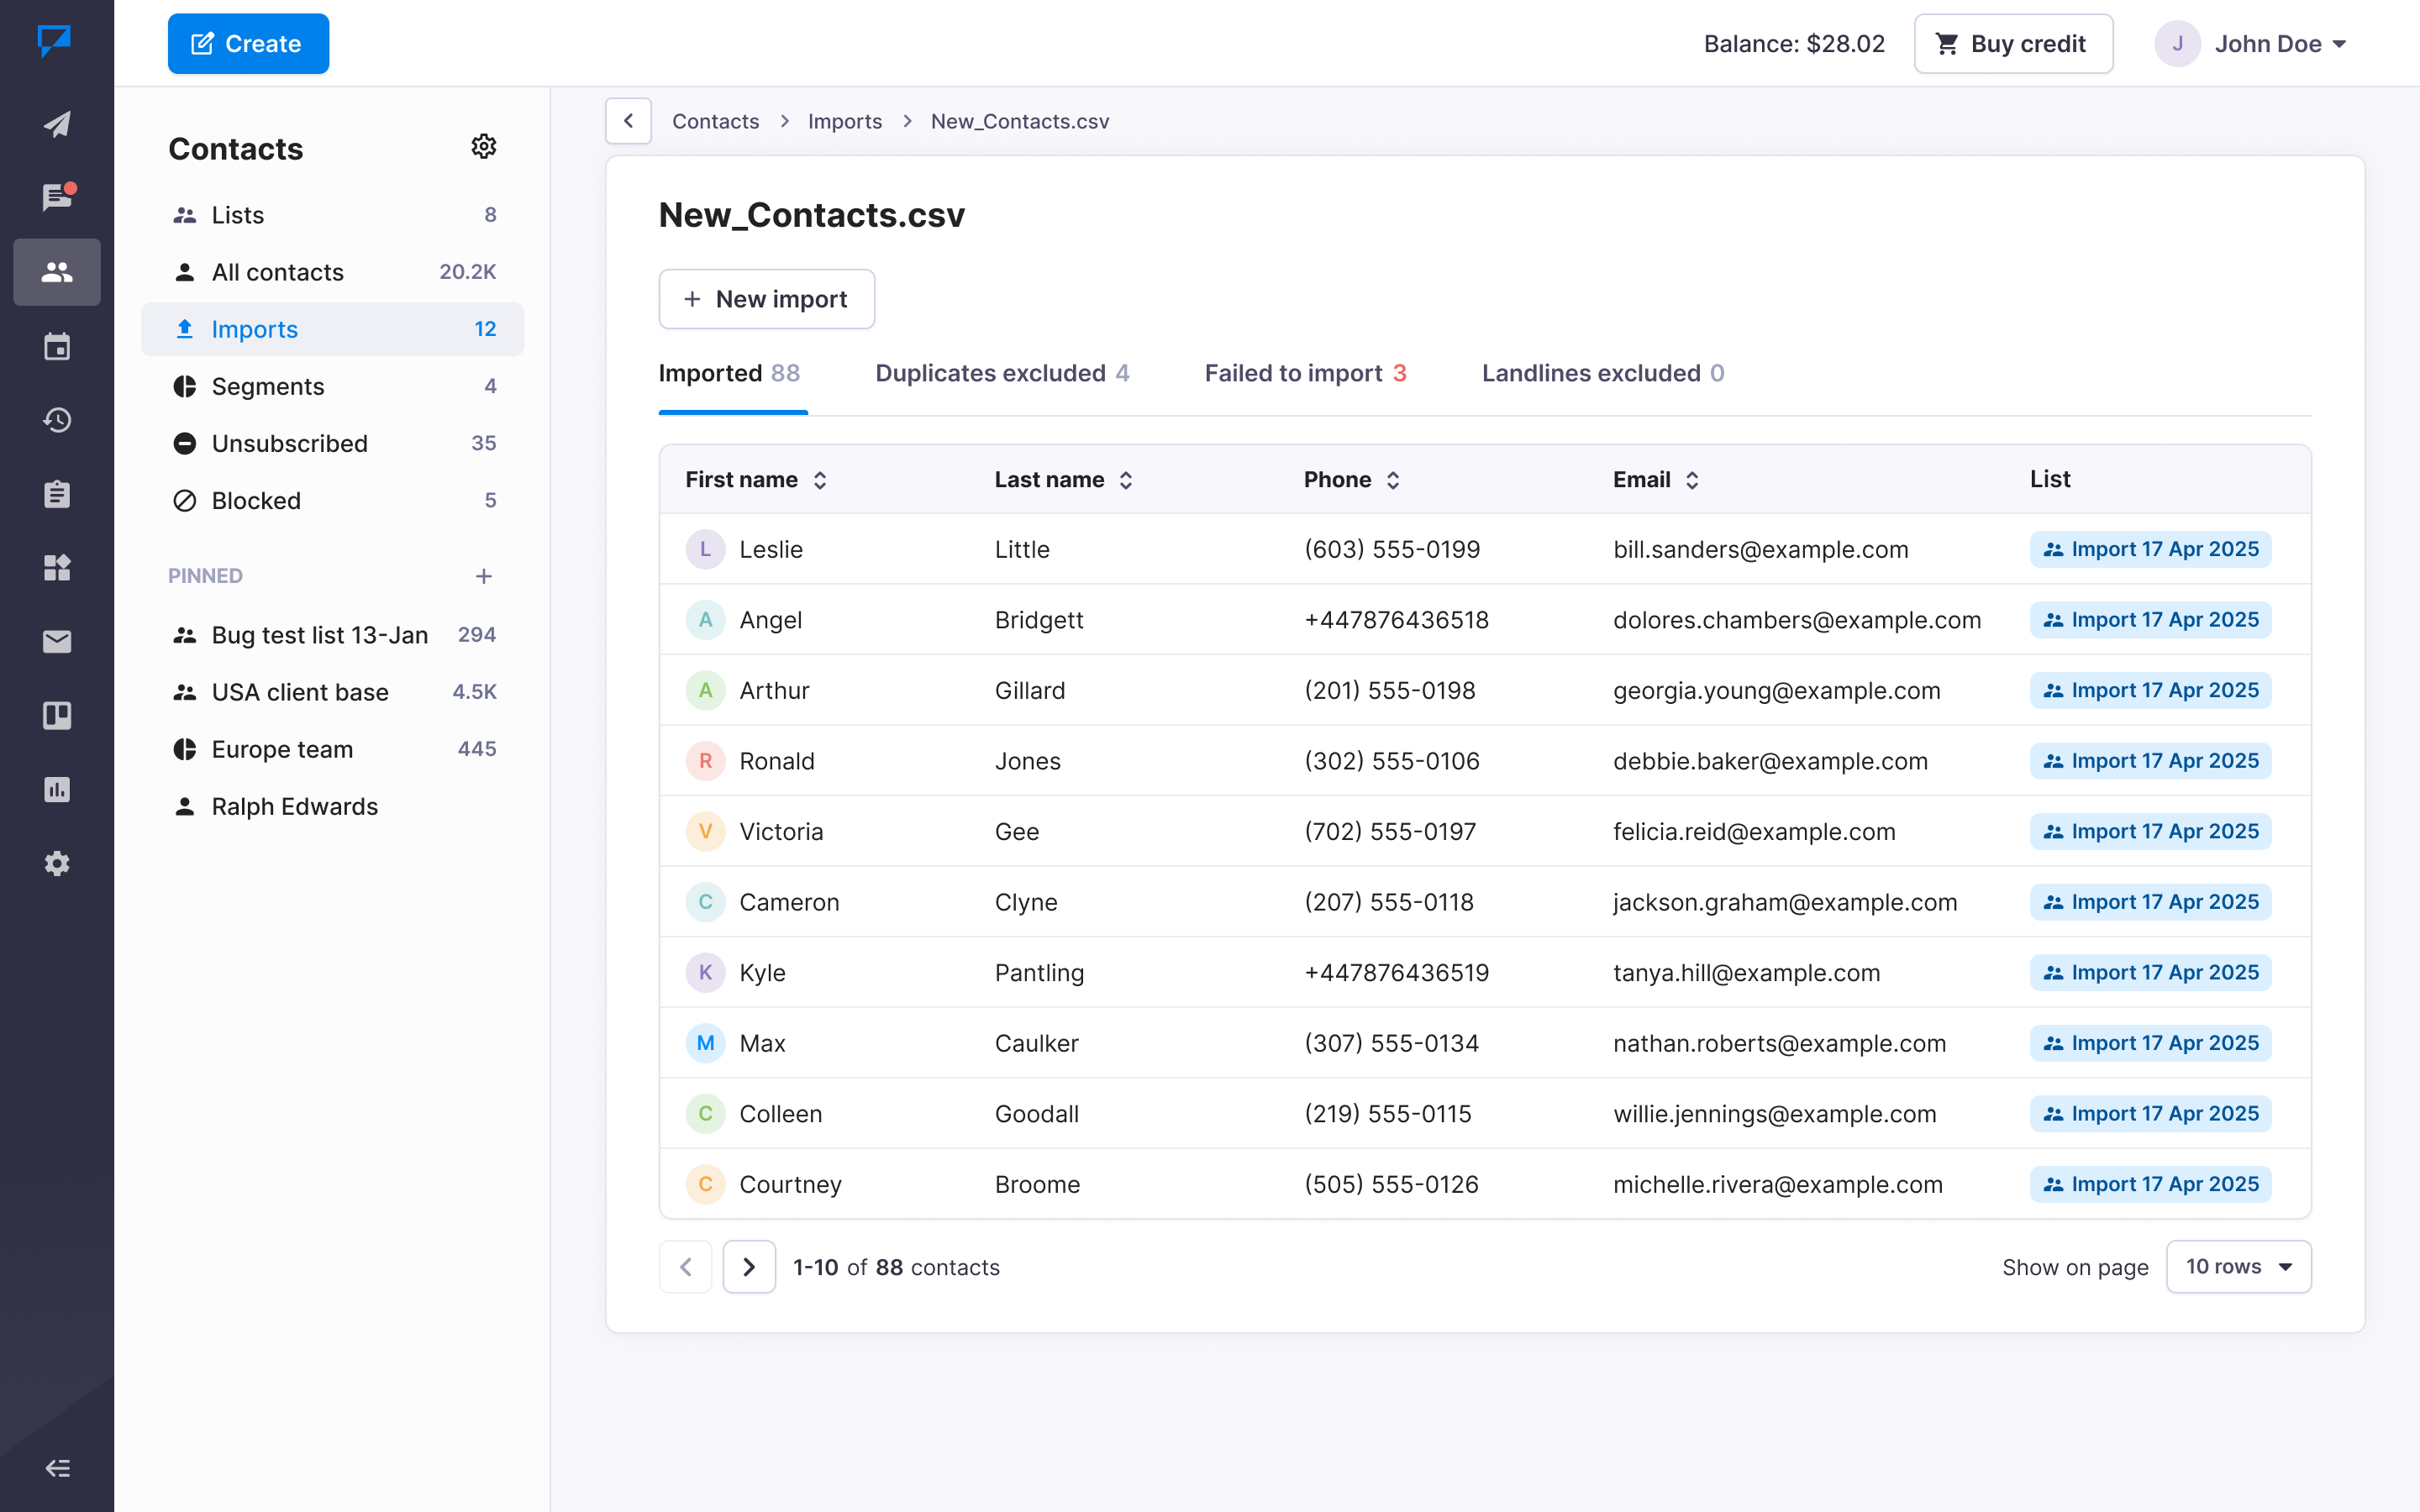
- To fix a failed contact, open Failed to import → Click Edit and import → Correct the details → Click Save changes.
Sync contacts with native integrations
You can automatically sync contacts from Textmagic’s native integrations, including Shopify, HubSpot and WooCommerce.
- Go to Settings → Integrations → Select and connect your integration.
- Match the contact fields you want to sync → Select a Textmagic contact list → Start the sync.
Existing contacts are updated with the latest data from the mapped fields, while new contacts are added automatically.
Lists
Use lists to organize contacts into groups, such as customers, employees, or leads.
- Go to Contacts → Lists → Click New list.
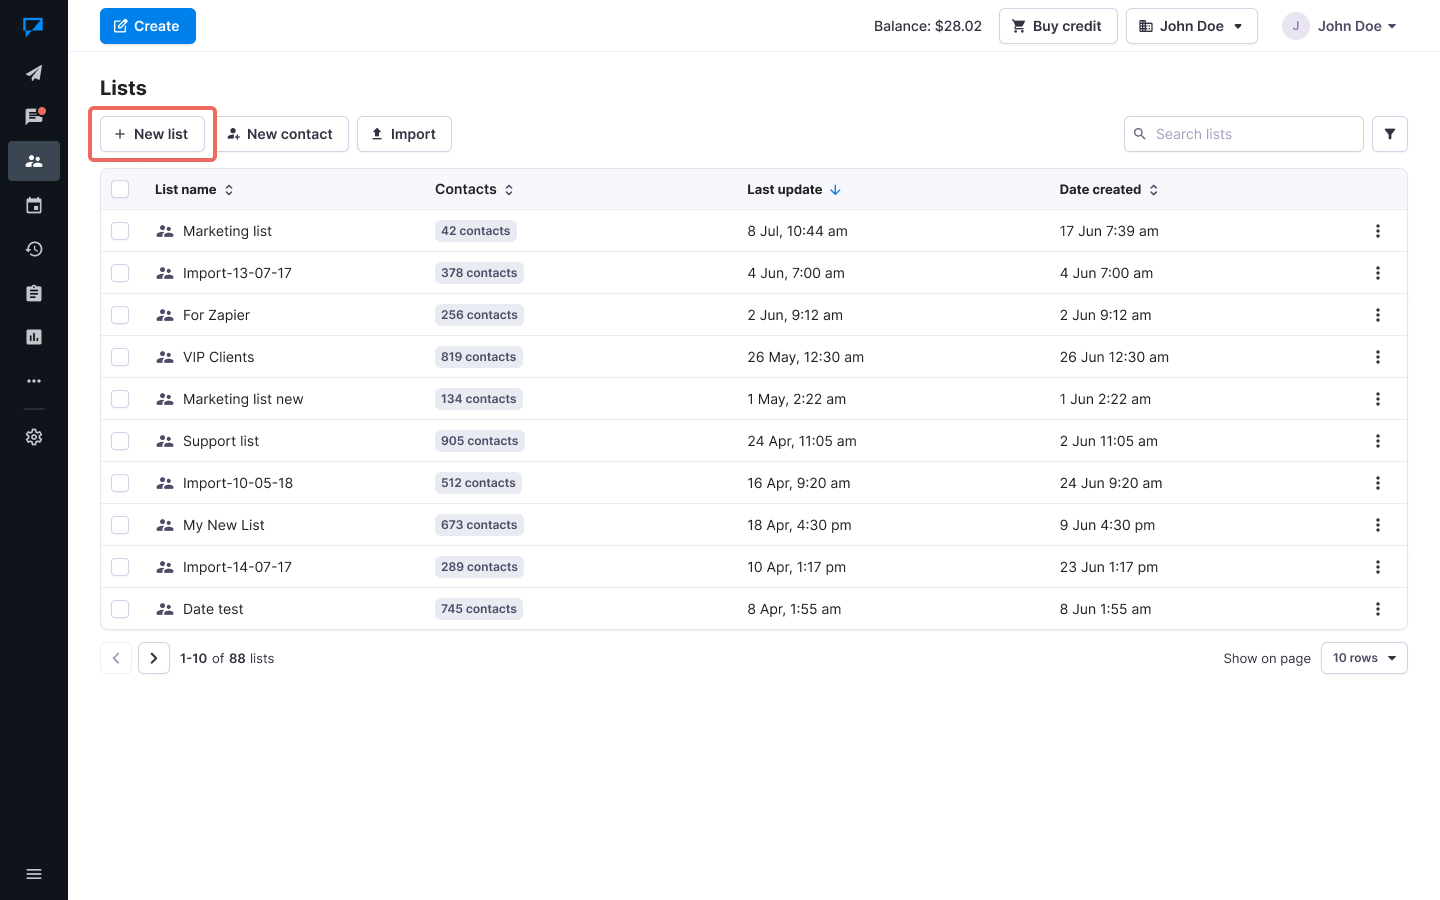
- Enter a list name → Click Save.
- Add contacts or import contacts to your list.
Segments
A segment is a dynamic group that automatically adds or removes contacts based on selected filters.
- Go to Contacts → Segments → Click New segment.
- Enter a name → Add filters → Click Save.
You can filter contacts by tags, country, date created or updated, channel, custom fields, and other contact data.
Use segments to quickly target specific groups of contacts for messages, campaigns, and automations.