Tickets: Set up your shared inbox for inbound emails
The Tickets feature is your shared inbox for receiving inbound emails from your customers. Each email is automatically converted into a trackable helpdesk ticket, allowing your team to manage and respond to customer inquiries efficiently – all within Textmagic.
How it works
- Your customers send emails to your helpdesk inbox.
- Each email becomes a ticket, which your team can assign, prioritize, and reply to.
- Keep everything organized in one place without switching between multiple email accounts.
Settings up your inbox
To start using tickets, you need to create or connect an inbox.
Option 1: Use the default Textmagic inbox
- Textmagic provides you with a ready-to-use inbox (e.g., [email protected]).
- Share this email address with your customers, or add it to your website.
- All emails sent to this address will appear as tickets in your shared inbox.
- You can also create more inboxes, such as sales@…, marketing@…, etc.
Option 2: Connect your existing email inbox
If you already have a support email (e.g., [email protected]), you can forward emails to your Textmagic inbox.
Steps to connect your inbox
- Open the Tickets section in Textmagic.
- Click “Connect a new inbox” and enter your existing support email.
- Set up email forwarding from your email provider (e.g., Gmail, Outlook) to your Textmagic inbox.
- Verify forwarding to activate the connection.
- Incoming emails from your customers will now be converted into helpdesk tickets in Textmagic.
Managing your tickets
Customers with sub-accounts (legacy): This account setup does not support collaboration, creating or using shared inbox views. Contact us to switch to the user flow.
Customers with users: All users within the same account branch have identical permissions and can perform the same actions in the shared views and helpdesk tickets.
Once your inbox is set up, you can start managing incoming tickets:
- Assign tickets to team members for faster resolution.
- Track ticket status (e.g., open, pending, solved).
- Reply to tickets directly from Textmagic.
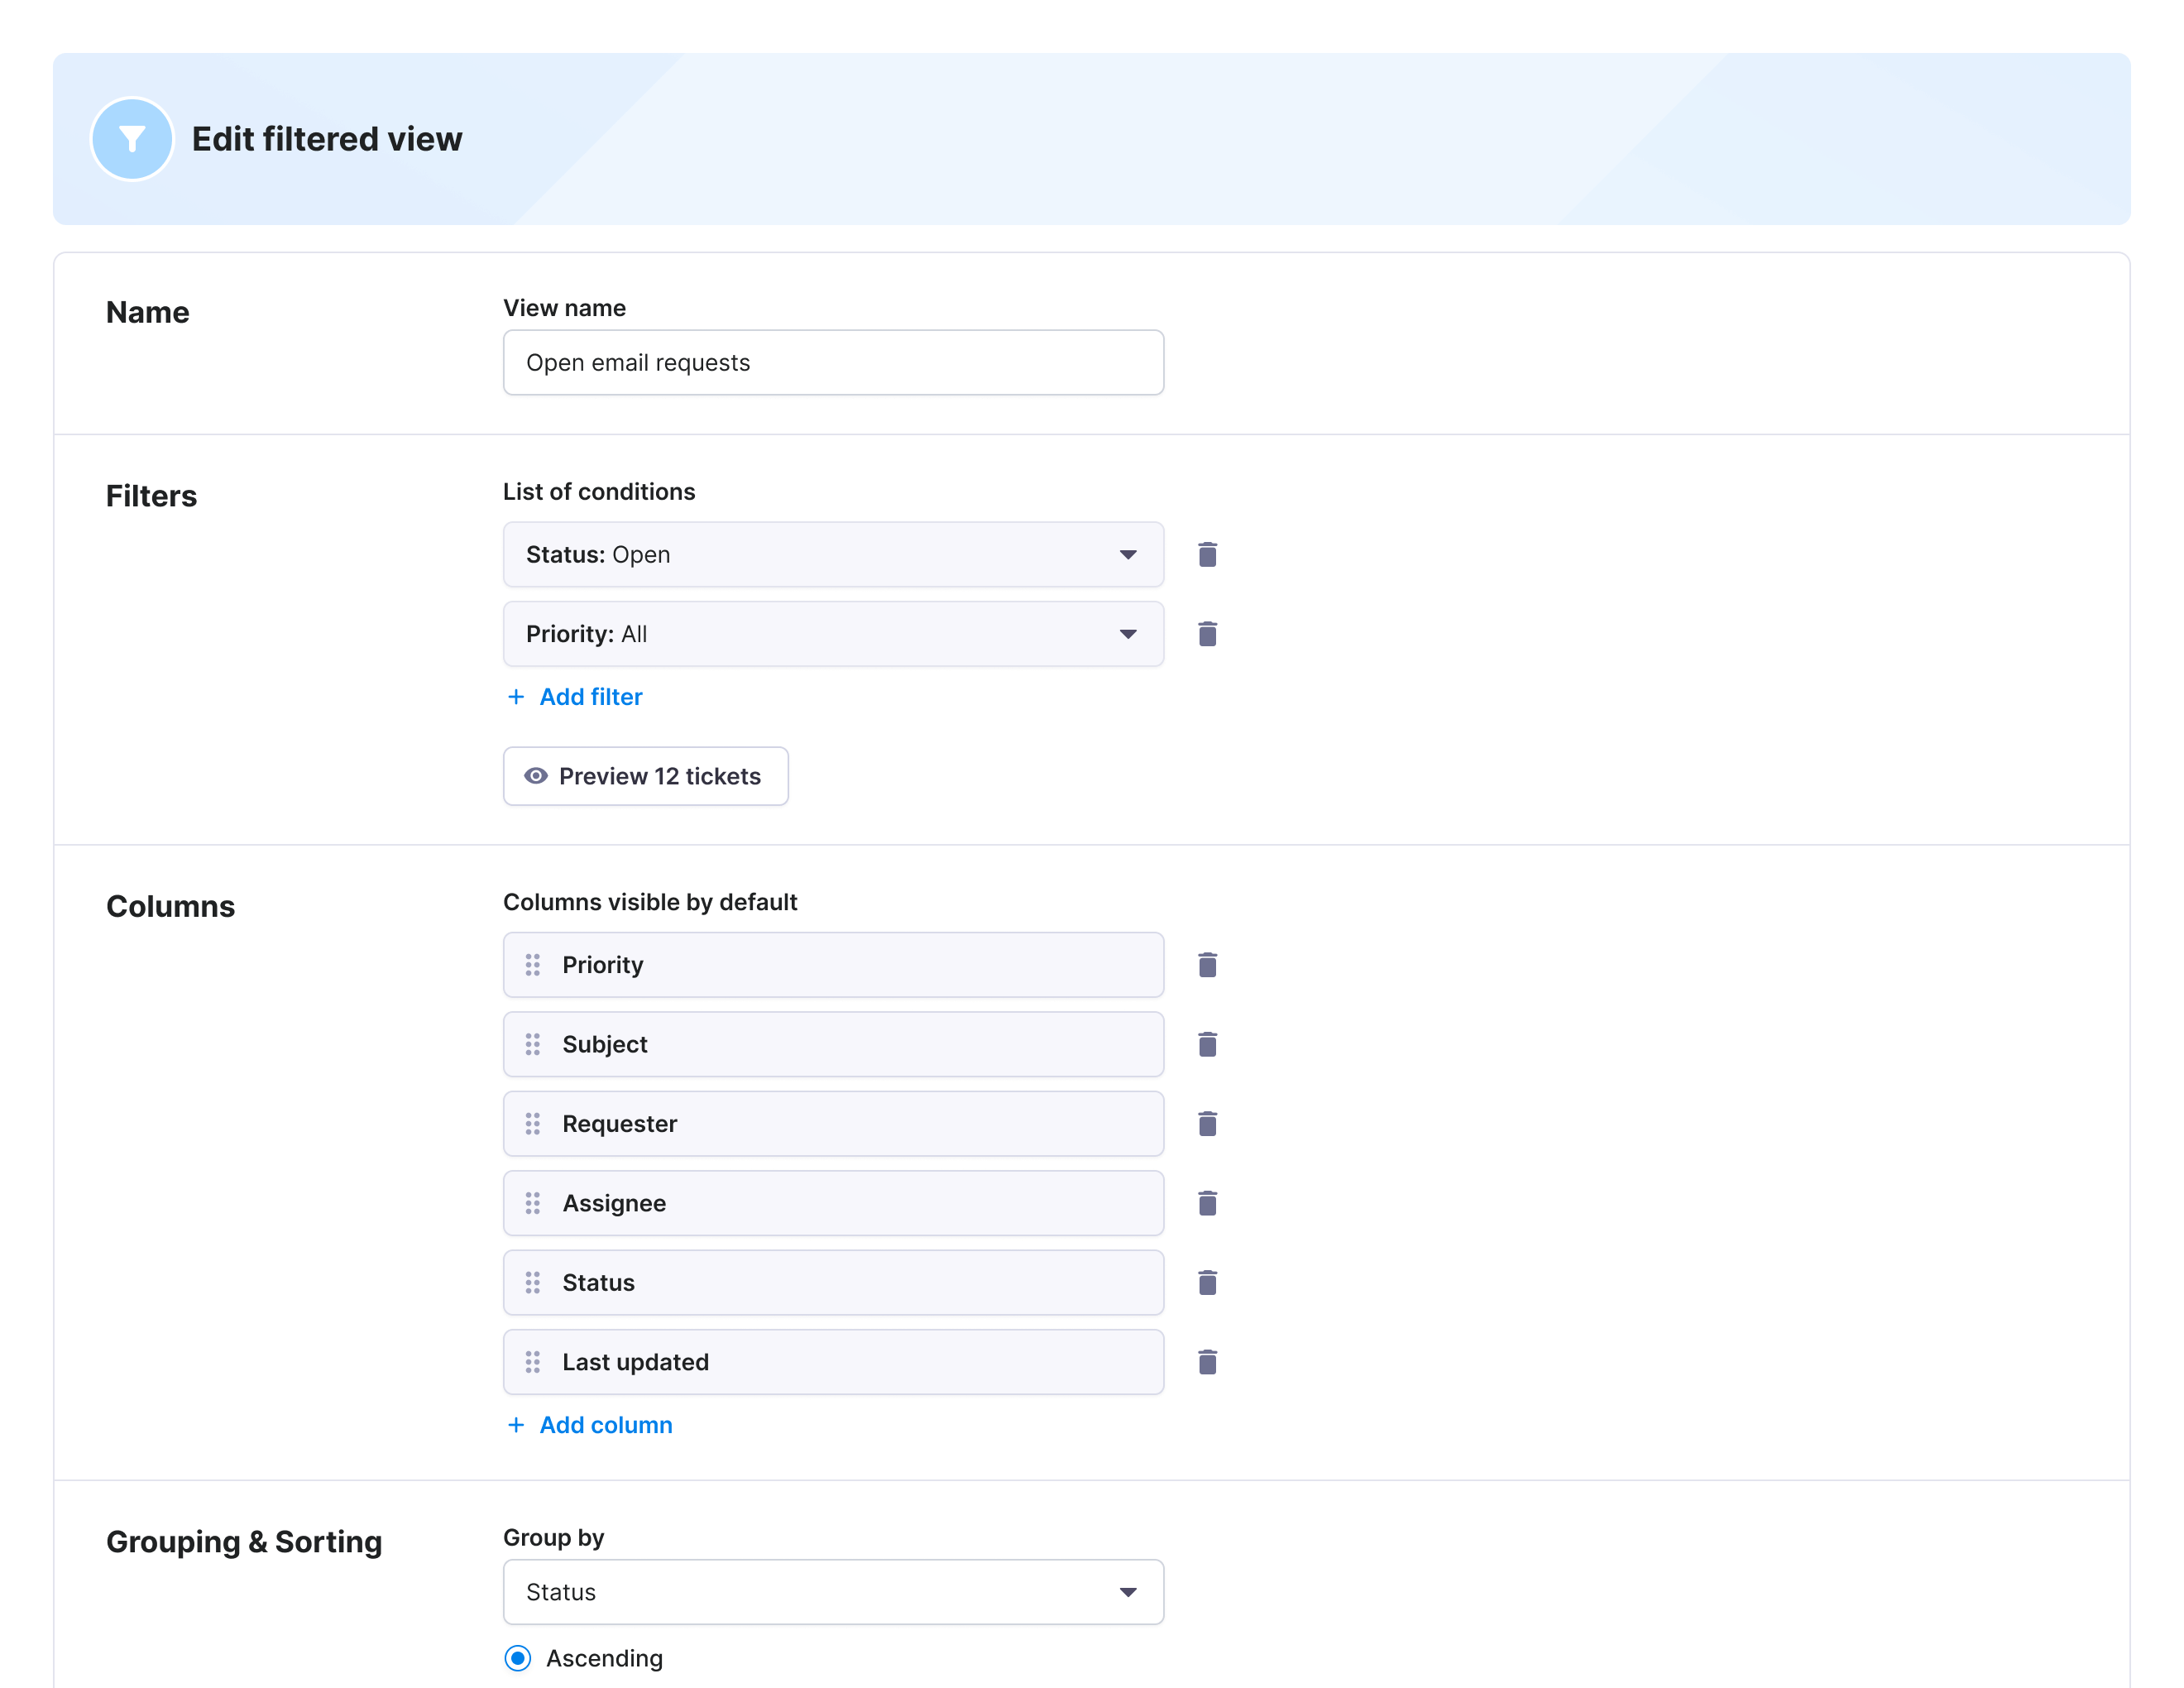
- Organize tickets using filters and views.
Additional settings
- Spam filter: Automatically blocks unwanted emails.
- Whitelist/Blacklist: Ensure important emails always reach your inbox and block spam.
- Custom views: Organize tickets based on priority, status, or assigned team members.
Why use Tickets in Textmagic?
- Centralized inbox – Manage all customer emails in one place
- Automatic ticket creation – No more manual tracking of customer requests.
- Team collaboration – Assign and manage tickets across multiple agents.
- Seamless email forwarding – Use your existing support email with Textmagic.
- Improved customer response times – Faster handling of inquiries.
